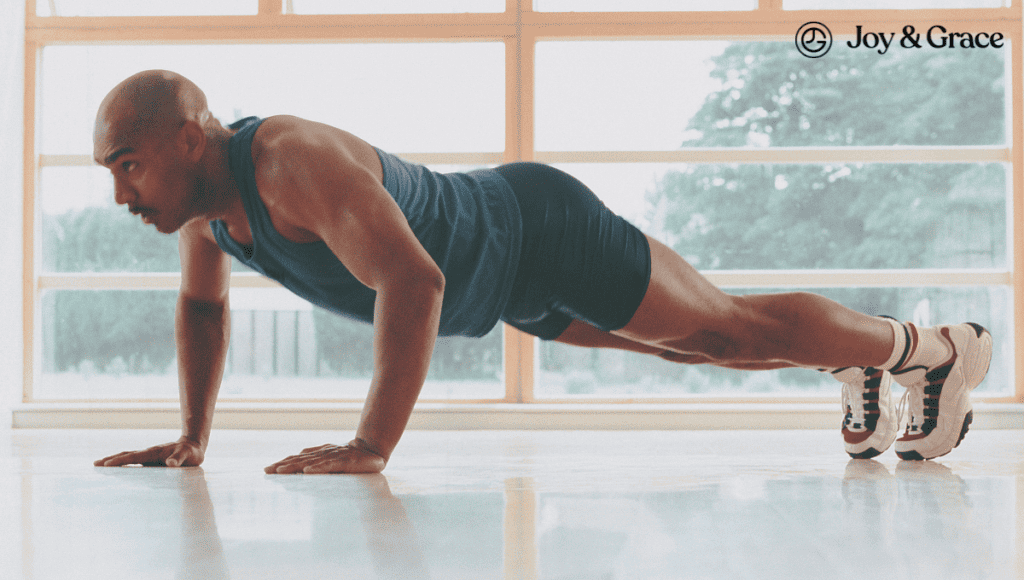
Push-up exercises are one of the most popular bodyweight exercises. The best thing about them is their convenience: they can be done anywhere, anytime!
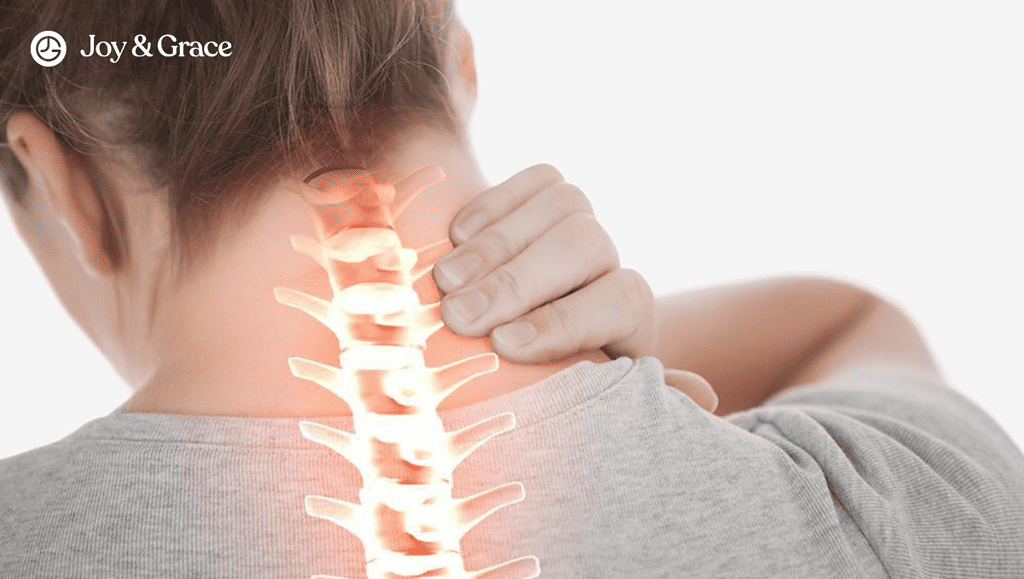
But, as straightforward and harmless as they may seem, push-ups can cause injuries. Injuries may lead to shoulder pain that appears every time you hit the floor and go back up.
If this is the case, should you ditch push-ups altogether? Not necessarily. Instead, consider learning how to perform the proper technique without triggering shoulder pain. Let us show you how.
Can Push-Ups Cause Shoulder Problems?
Yes, push-ups can lead to shoulder problems. This is especially true if you do them incorrectly.
Push-ups or press-ups are an exercise that most of us have heard of and done before (or tried doing, at least). They work out the upper body muscles, namely the pectoral (chest), deltoid (shoulder), and triceps (upper arm).
There are numerous push-up variations, each targeting specific muscles. However, they rall share the same core principle: pushing your body weight with your arms against a surface.
Due to their pushing or pressing nature, push-ups can strain the shoulder joints. This strain may then cause pain. Let’s see how this happens.
Why Does My Shoulder Hurt When I Do Push-Ups?
Incorrect form is one of the main culprits for shoulder pain from push-ups. It can excessively stress the shoulder joints and potentially damage them.
For example, performing a push-up with your shoulder blades raised up towards your ears instead of down flat can place the scapula (shoulder blade) in a position of impingement, which may lead to pain.
Apart from technique issues, an underlying shoulder condition could also be causing your pain. Specifically, there are a few key muscles that play an important role in shoulder stabilization during push-ups:
- The rotator cuff is the most important muscle group for shoulder stabilization. It controls many active movements at the glenohumeral (upper arm to shoulder) joint.
- The serratus anterior is also a crucial shoulder stabilizer. It keeps the shoulder blade in its place. If it's weakened, winging of the shoulder blade can occur.
- On the other hand, the trapezius acts as a stabilizer of the acromioclavicular (clavicle to shoulder) joint.
Weakness or injury in any of these muscles can lead to shoulder instability, impingement, and pain when performing push-ups.
Finally, overdoing push-ups can also result in shoulder pain. Balancing exercise and rest time should be crucial to your fitness routine. You risk getting injured if you work out without giving your joints and muscles adequate time to recover.
Is Shoulder Pain Normal After a Push-Up?
Is it okay to feel shoulder pain after push-ups? The answer is not straightforward.
As mentioned, shoulder muscles are one of the active muscle groups during push-ups. After a push-up session, your shoulder muscles might feel a little sore for a while. Soreness manifests as pain that gets worse with movement. It’s usually normal and goes away in a few days.
This is usually due to something called DOMS (Delayed Onset Muscle Soreness). DOMS has some typical characteristics:
- A dull, aching pain in the muscles
- Pain which is felt most when the muscle is moved or touched
- It goes away within 72 hours after appearing
- It's a normal result of new or intense exercises as the muscles repair and strengthen
How Do I Stop My Shoulders From Hurting When I Do Push-Ups?
When it comes to resistance exercises like push-ups, proper form is crucial. Hence, avoiding shoulder pain while doing push-ups could be a matter of correcting your form.
If the pain makes push-ups too difficult, consider gentler exercises first. These can include stretching exercises, for example. You may also want to try push-up variations, such as knee push-ups.
We discuss this advice in more detail below. Let’s first see what a proper push-up form looks like.
What is the Proper Form for a Push-Up?
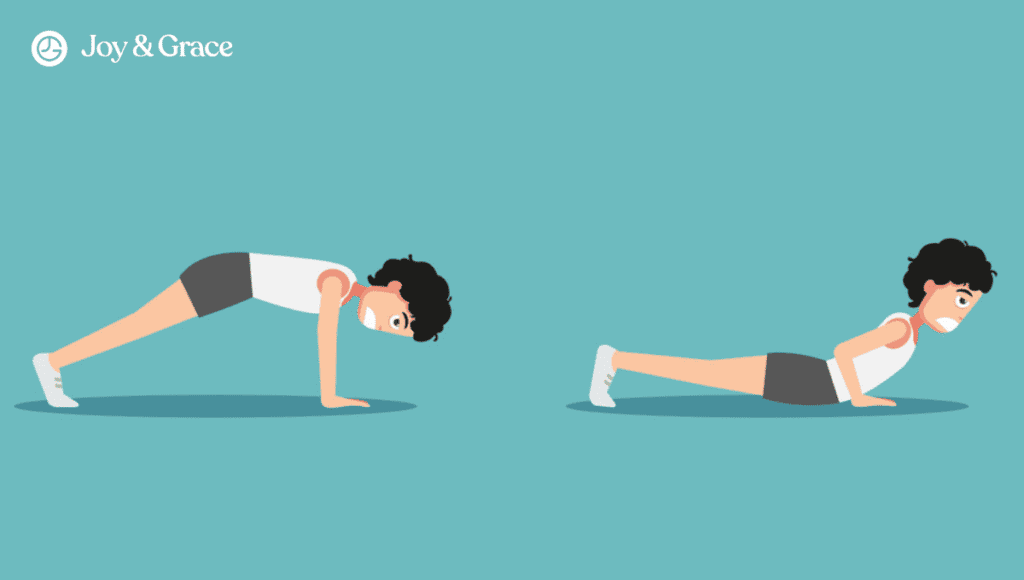
There is more than one way to do push-ups. However, a standard push-up usually involves following these steps:
- Place your hands shoulder-width apart on the ground.
- Place the tips of your feet on the ground close to each other.
- Keep your hands and legs straight.
- Engage your core
- Keep your body straight (without dropping or lifting your hips and glutes).
- Keep your elbows comfortably close to your body as you go down.
- Lower yourself until your chest almost touches the ground.
- Push yourself back up using your arms.
How to Do Push-Ups Without Pain?
If you are doing push-ups correctly but still have shoulder pain, it could be that the standard push-up is not good for the way your shoulders work. But don't lose hope! You can try some different kinds of push-ups that might be easier on your shoulders.
Some of these variations can be found in a 2014 study that analyzed various push-up forms and their effects on shoulder involvement. It concluded that a certain form may keep the shoulder more stabilized during its range of motion. The study called this type the push-up plus variation, which incorporates external shoulder rotation. It's kind of a hard read, but it’s not as complicated as it sounds.
External rotation essentially makes the variation more effective and takes the pressure off the shoulders.
You can do it by first putting yourself in the same starting position as the standard push-up. So, keep your arms, legs, and body straight and your core firm. Then:
- Tuck your shoulders in and rotate your arms outward. With your palms on the floor, your fingers should be pointing away from each other.
- Instead of lowering to the floor, protract your shoulder blades. Lift your upper back toward the ceiling, extending your shoulder blades.
- Hold the same position for five seconds, then return to the starting position.
Here’s a good video explaining the process, although you don’t need to rotate your hands as much as the person demonstrating it.
The push-up plus variation engages the rotator cuff muscles around the shoulder joint equally. It also engages the serratus anterior and relieves pressure on the trapezius. Thus, it keeps awkward shoulder and neck positions that may trigger pain to a minimum.
Should I Stop Doing Push-Ups If My Shoulder Hurts?

No, not necessarily. Shoulder pain is not always a reason to give up on doing push-ups completely. Pain might be a sign that your push-up form is incorrect. It might also alert you that your shoulder muscles are not strong enough.
However, if you feel shoulder pain while doing push-ups, we suggest stopping and not pushing through the pain. This pain during the exercise, rather than after, is a warning sign to stop and reassess your form or rest your shoulders.
Also, just because the pain appears during push-ups doesn’t automatically mean push-ups are the culprit. You might be suffering from an underlying condition, such as Shoulder Impingement Syndrome or a rotator cuff tear.
Hence, if the pain persists even after improving your technique, it might be a good idea to address your shoulder pain with your doctor.
Can I Do Push-ups With a Pinched Nerve in My Neck and Neck Pain?
The push-up is an exercise that may tense the neck muscles. This is why you should generally avoid traditional push-ups if you suffer from a pinched nerve in the neck.
A pinched nerve in the neck is also known as cervical radiculopathy. This condition appears after injuries or degenerative diseases. It causes neck pain that can spread to the shoulder and arm.
A 2019 study suggests light exercise may actually be beneficial against radiculopathy pain. You should begin with low-intensity exercises and gradually progress to higher intensities. The exercises may be divided into four different levels, as follows:
- Level 1 (lowest intensity)
- Neck flexion. Lie on your back and put your head on a pillow. Slowly tip or nod your head forward and look down at your chest. Hold for five seconds and repeat five times.
- Neck rotation. Lie on your back and put your head on a pillow. Rotate your head slowly to the left and look to the left. Hold this position for five seconds, then do the same steps on the right side. Repeat five times.
- Neck flexion. Lie on your back and put your head on a pillow. Slowly tip or nod your head forward and look down at your chest. Hold for five seconds and repeat five times.
- Level 2 (higher intensity than level 1, but lower than level 3)
- Isometric neck extension. Lie on your back and put your head on a pillow. Gently push the back of your head against the pillow. Feel the neck and shoulder muscle tension and hold the position for five seconds. Repeat five times.
- Resisted neck flexion. Lie on your back and put your head on a pillow. Put your hands on your chin and gently push against it. At the same time, nod your head slightly forward against the resistance of your hands. Hold for five seconds and repeat five times.
- Resisted neck rotation. Lie on your back and put your head on a pillow. Place your hand on the left side of your head and gently push against it. At the same time, rotate your neck to the left against the resistance of your hand. Hold for five seconds and repeat five times.
- Isometric neck extension. Lie on your back and put your head on a pillow. Gently push the back of your head against the pillow. Feel the neck and shoulder muscle tension and hold the position for five seconds. Repeat five times.
- Level 3 (higher intensity than level 2, but lower than level 4)
- Shoulder blade exercises. While sitting, move your shoulder blades back and up. Hold this position for five seconds and repeat five times.
- Grip strengthening. While sitting, hold a softball with your hand and your forearm supported on a table. Squeeze and bring your index finger and thumb together. Repeat five times.
- Shoulder girdle exercises. While sitting or standing, lift your shoulders (shrug) and hold for 1-2 seconds. Repeat five times.
- Shoulder blade exercises. While sitting, move your shoulder blades back and up. Hold this position for five seconds and repeat five times.
- Level 4 (highest intensity)
- Upper trapezius stretch. While sitting, tilt your head toward your shoulder. Use your hand to pull your head to the same side further. Hold the position for ten seconds and repeat five times on both sides.
- Scalene stretch. While sitting, hold the base of the chair with one arm. Rotate your head away from the fixed arm. Repeat five times on both sides.
- Neck rotation. While sitting, rotate your neck on one side. Use your hand to help it rotate further. Hold the position for 5-10 seconds and repeat five times on both sides.
- Wall push-ups. Start by facing a wall. Put your hands on the wall and keep your arms and body straight. Slowly do five push-ups with the help of the wall.
- Thoracic spine mobilization. Start by putting your hands and knees on the ground in a crawling position. Hollow your back while keeping your neck long and your arms straight. Repeat five times.
- Upper limb strengthening exercises. While sitting or standing, keep 1-2 lb. weights in each hand. Keep your hands close to your chest. Lift one arm up while keeping the other one to the chest. Alternate arms. Repeat five times on each side.
- Upper trapezius stretch. While sitting, tilt your head toward your shoulder. Use your hand to pull your head to the same side further. Hold the position for ten seconds and repeat five times on both sides.
The benefits may be more significant when these exercises are combined with medications. The types and levels of exercise should be tailored to each patient.
Can I Do Push-Ups With Shoulder Arthritis?
Yes. Exercises like push-ups and squats can help reduce the pain, stiffness, and swelling associated with arthritis. Warm up before exercising, and talk to your doctor to find out what exercise suits you best.
How Do I Fix Shoulder Pain After Push-Ups?
So, how can you ease the strain on your shoulder and neck during and after push-ups? We already mentioned that correct form is a key factor in improving pain. Here's a quick guide with additional advice on how to fix shoulder pain associated with push-ups:
- Rest and ice. If you've experienced shoulder pain after push-ups, stop and apply an ice pack to the affected area. This helps reduce inflammation and pain.
- Progress gradually. If you can't do push-ups because of shoulder pain, start with a modified version (knee or wall push-ups). Increase the intensity as your strength improves.
- Strengthen your muscles. Building strength in your chest, back, and arm muscles can take the pressure off your shoulders. Include exercises like bench presses, rows, and bicep curls in your workout routine.
- Stretch and Warm Up. Always stretch your upper body before exercising. This will warm up your muscles and joints, reducing the risk of shoulder injury.
- Cool Down. A cool-down session after push-ups can also prevent shoulder pain. Finishing up with strength exercises and stretching helps ease muscle tension and pain.
Remember, it's better to do fewer push-ups with good form than many with bad form. Take the time to understand how your body works and what it needs.
Are Push-Ups Good for Shoulder Pain Rehab?
Yes! We’ve seen that push-ups, if not performed correctly, may lead to shoulder pain (and neck pain, too). But, if done right, push-ups can be helpful for shoulder pain rehabilitation!
A few studies have analyzed the effects of various push-up techniques as part of rehab programs. These techniques work by stabilizing and strengthening the shoulder muscles.
A 2022 study suggests that different push-up variations can be incorporated during different rehabilitation stages. At the beginning of the rehab program, a patient may only perform push-up techniques that activate shoulder muscles to a lesser degree. This includes incline push-ups. Incline push-ups are done by putting your hands on an elevated surface, such as a box or bench.
As the program progresses, more strenuous push-up types can be applied. These can include the following:
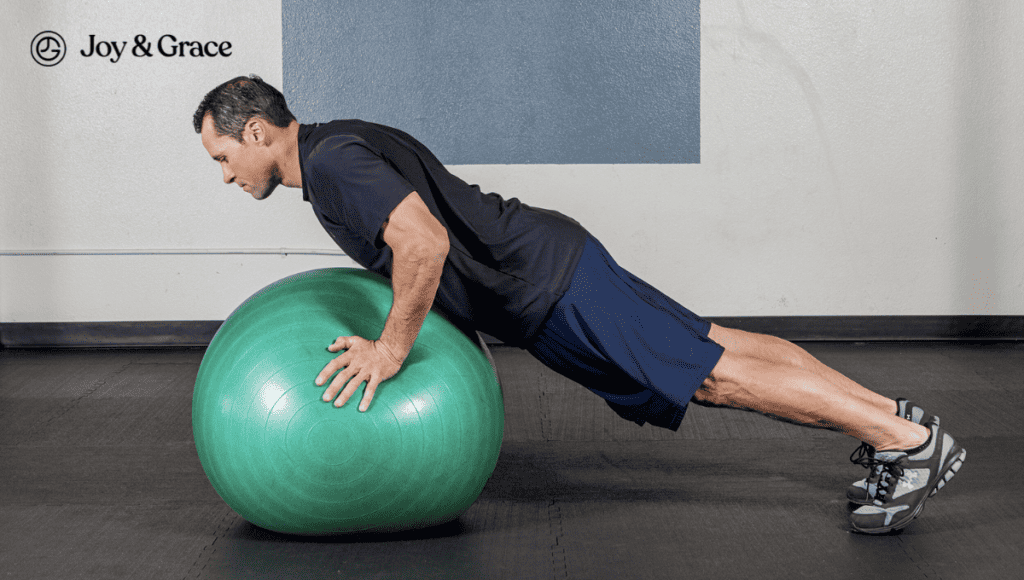
- Unstable push-ups. These are performed by placing your hands on an unstable surface, such as an exercise ball. They are more challenging and promote faster activation of shoulder muscles. This may help with strength and joint stability.
- Push-up plus exercises. As said, this push-up technique involves shoulder blade protraction. They are reserved for the end stage of the rehabilitation program.
- Standard push-ups
The study claims progressive muscle activation makes returning to work and sports safer and more efficient.
Another study recommends adding push-up bars to the rehabilitation plan. Push-up bars are accessory tools that can help with shoulder stability. Different bar grip thicknesses can be used progressively for different stages of rehab. Early stages require a narrower grip thickness. A bigger grip thickness means more forearm activation. More forearm activation leads, in turn, to more shoulder muscle stabilization.
Takeaway
Push-ups can lead to shoulder problems, which may manifest as shoulder pain.
Poor form is one of the main culprits for shoulder pain from push-ups. It can stress the shoulder joints more and damage them.
An underlying shoulder condition or overdoing push-ups could also be causing your pain.
Overdoing push-ups can also result in shoulder pain.
The push-up plus exercise with external rotation is a variation that may keep the shoulder stabilized during movements. This push-up variation engages the rotator cuff muscles around the shoulder joint equally. It also engages the serratus anterior and relieves pressure on the trapezius.
Shoulder pain is not always a reason to stop doing push-ups completely. However, it’s essential to understand that you shouldn’t simply try to get around your shoulder pain.
Just because the pain appears during push-ups doesn’t mean push-ups are the culprit. You might be suffering from an underlying condition, such as Shoulder Impingement Syndrome or a rotator cuff injury.
To improve shoulder pain, apart from improving your push-up technique, you should:
- Rest and ice
- Progress gradually
- Strengthen your muscles
- Stretch and Warm Up
- Cool Down
Push-ups can be helpful for shoulder pain rehabilitation as well. Progressive muscle activation makes returning to work and sports safer and more efficient.
Push-up bars may be another addition to the rehabilitation plan. Different bar grip thicknesses can be used progressively for different stages of rehab.